Hello friends, in this video we will learn how to connect the Godox X2T trigger to the Godox SK400II studio light.
Before we proceed, let me give you a little information to avoid confusion:
There are several series of the Godox X2T trigger, including X2TC (Canon), X2TS (Sony), X2TN (Nikon), and so on.
The Godox SK400II studio light also has several types, including SK300II, SK400II, SK400II V, SK400II V.
For all of these, the setup and connection process is the same.
The first step in connecting the trigger to the studio light is to match the channel frequency.
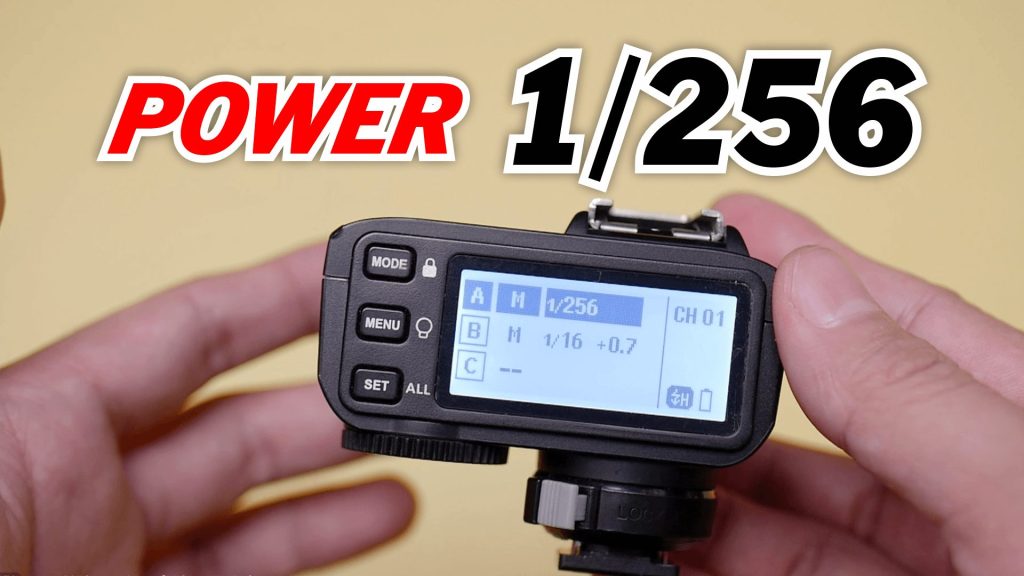
The channel is marked with a number. If you look at the studio light screen in the upper right corner, you will see “CH01”, which means the studio light is on channel 1. Then, on the X2T trigger screen, you will see “CH04”, which means the trigger is on channel 4.
If we want them to connect, the numbers must be the same, so that they are on the same signal network.
There are 2 options for this: either we change the studio light to channel 4, or we change the trigger to channel 1.
Once they match, the studio light and trigger can be connected.
Adjusting Power Based on Group
If the channels match, it means they are connected. Now, we need to look at the group on the studio light, so that we can easily adjust the settings directly on the trigger.
The Group feature can be interpreted as the name of the studio light we are using. For example, if we are using 2 studio lights, we can mark light number 1 as A, and light number 2 as B. This way, we can adjust light A with 1/8 power, and light B with 1/16 power. If both lights use group A, they will both use the same power, which is 1/8.
I hope it’s easy to understand, my friends. I hope it’s useful.


